Know Your Window
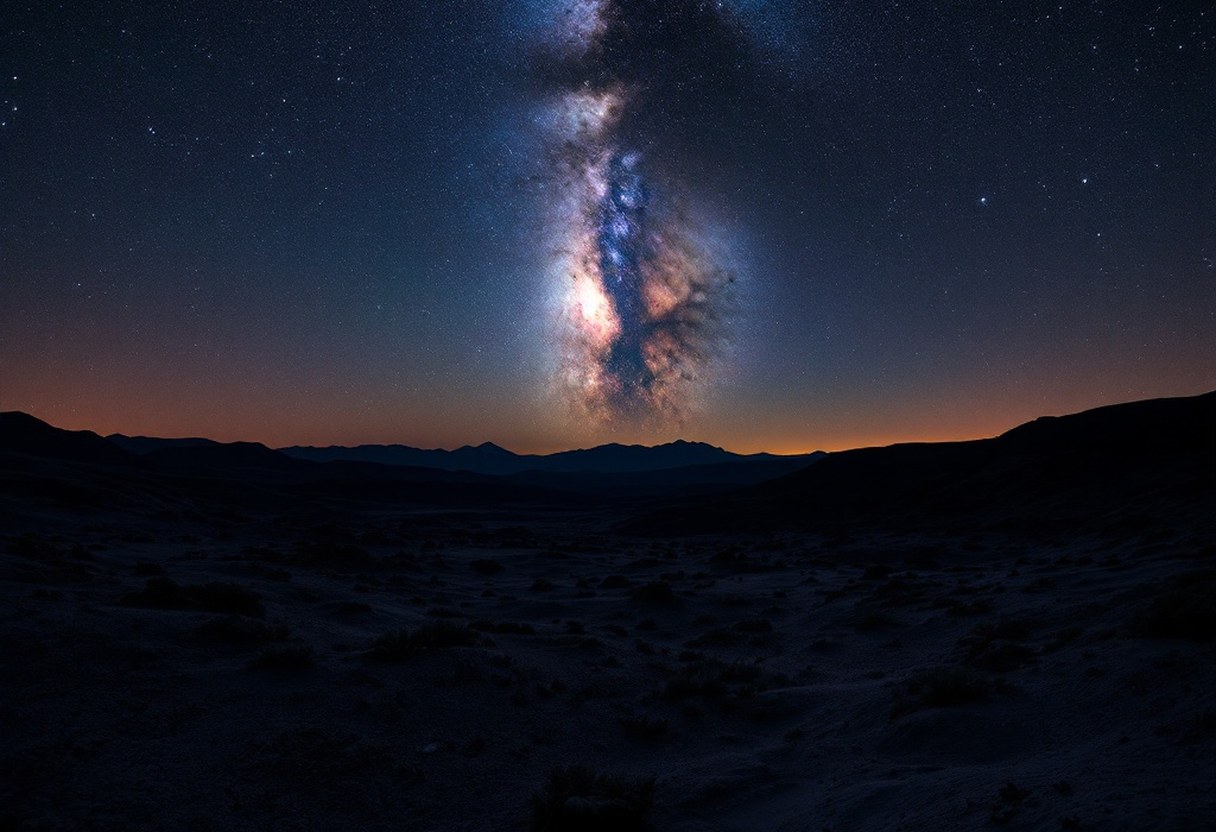
Photographing the Milky Way starts with one non-negotiable: darkness. Light pollution doesn't just dim the stars — it erases the gas and dust lanes that make the galactic core so breathtaking. Get well away from city glow, and the difference is immediate.
From the Northern Hemisphere, the galactic core is only visible for part of the year. Orientation shifts as the season progresses.
- April – MayCore rises parallel to the horizon — ideal for wide panoramic compositions
- June – SeptemberCore climbs to a near-vertical alignment — dramatic overhead arches become possible
Plan, Then Pack
A strong Milky Way shot is mostly made before you ever touch the shutter. Three things to lock down in advance:
- Location. Find the darkest sky you can reach. Use a light-pollution map and get as far from urban areas as practical.
- Foreground anchor. A lone tree, a lake pier, or a striking rock formation gives the eye a place to land and adds scale to the arch above.
- Weather. Clear skies are obvious, but also watch humidity — moisture accumulates on glass and kills sharpness fast.

For gear, you need surprisingly little. A DSLR with a fully charged battery, a wide-angle lens (10–20 mm is the sweet spot), a sturdy tripod, and a memory card with room to shoot RAW. That's it. RAW capture is the one thing worth insisting on — it gives you the latitude in post-processing to pull colour and detail out of a dark frame that a JPEG simply can't recover.